Imperfect Plates
We used to have some nice Claudia Reese plates. Our favorites were medium sized and, for some reason, highly prone to cracking. Once most of those were broken, we shifted to our larger dinner plates.
Although these were a joy to look at, they were too big for a typical meal and heavy, especially when the stacked more than two deep. When I started to make pottery, I saw an opportunity to get back to smaller, lighter-weight plates. Over my last year at Austin Pottery, I hand-built a small stack of assorted decoration. They work well for everyday, but I’ve found myself looking for something a bit nicer, and slightly larger, when we host friends or family for dinner.
In April I started to develop a process that would produce 12-inch dinner plates that stack neatly. First, I tried throwing them on the pottery wheel. I’ve had some modest success with that approach in the past, but I hadn’t made them thick enough to trim in a foot ring. I threw three disks 12 inches in diameter and a little more than a half inch thick. After throwing, I struggled pull a wire through the bottom of the plate to separate it from the supporting bat, the metal bit deeply into my fingers as the porcelain fought back. The result was an uneven cut. Trying to trim out that unevenness and make a nice foot ring, I warped it badly. Predictably, the plate cracked while drying. At various stages in the making, the other two also cracked, not the typical “s” crack from lack of compression but a stress crack straight through the plate. This can happen because the clay shrinks as it dries but the bat it is sitting on does not. If the plate is strongly adhered to the bat, it can crack. I’m not sure that’s what happened to me as there are other possible reasons. Nine pounds of cracked porcelain in the reclaim bucket encouraged me to try a dramatically different approach.
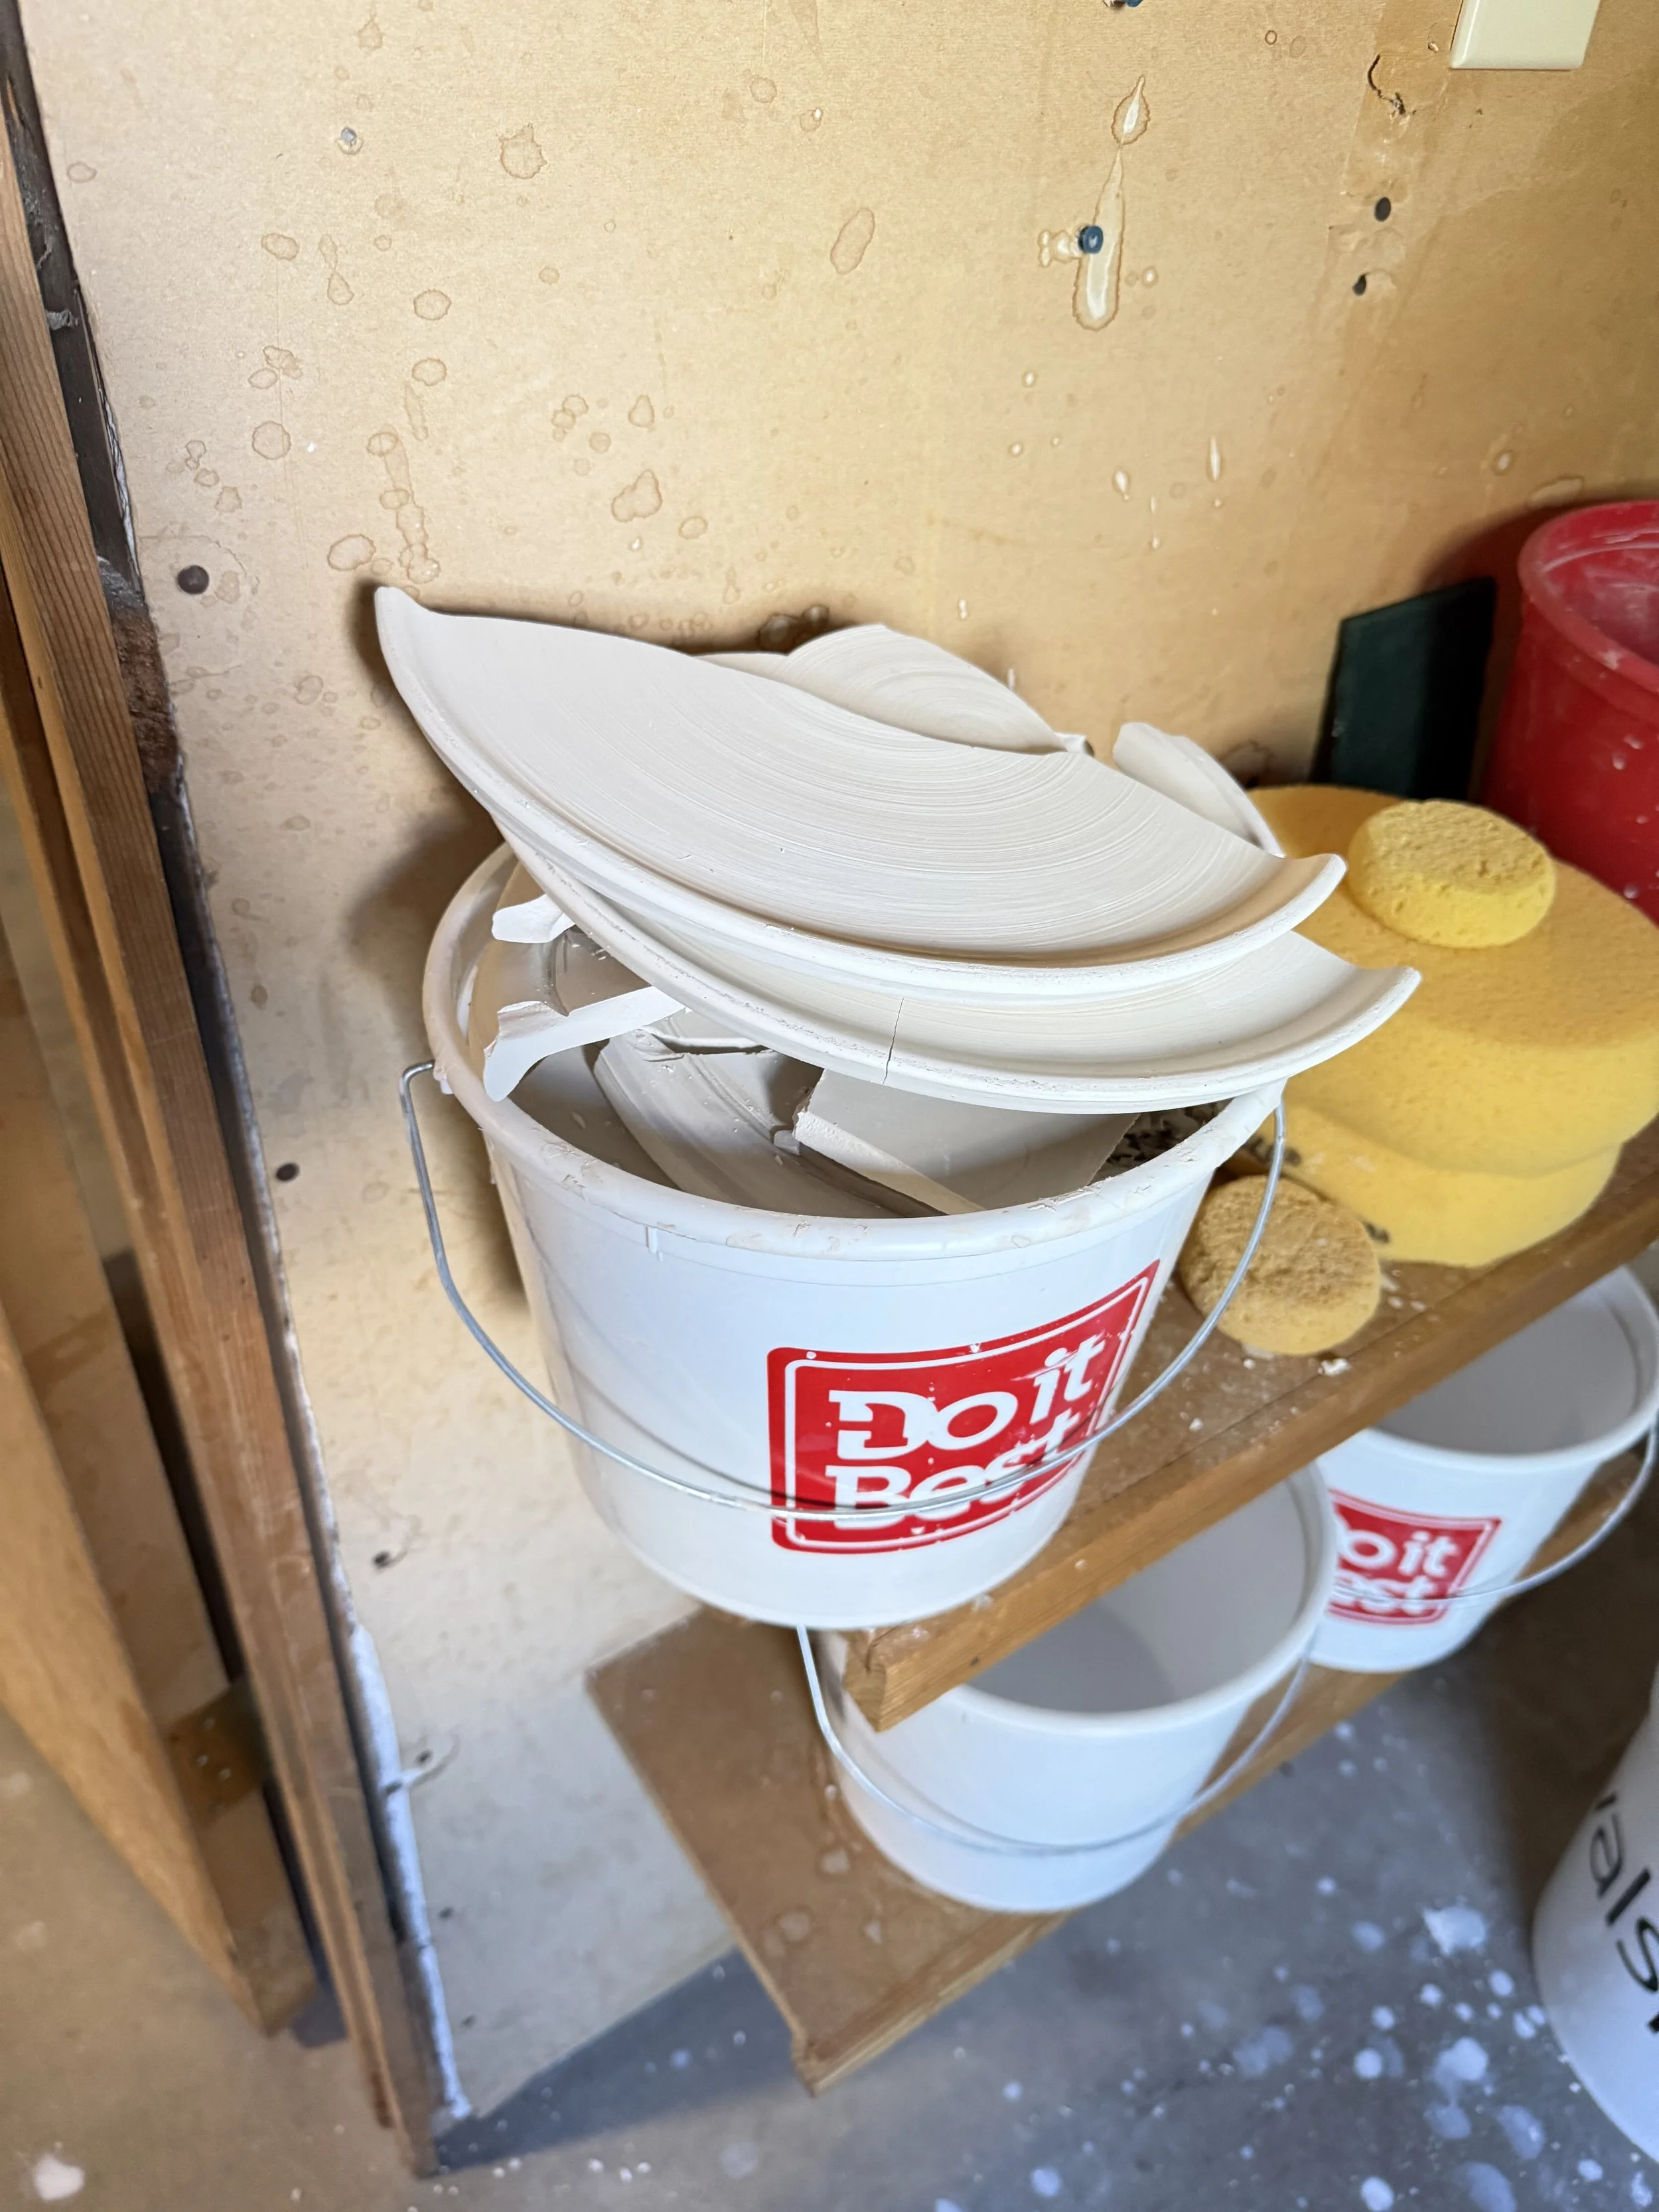
For my second attempt, I rolled out two quarter-inch thick slabs of clay and out of one cut a rough 12 inch circle using a bat as a template. Working back and forth between the two slabs on the pottery wheel I was able to cut out a foot ring, attach it to the plate, and refine the edges. The spin helped me to keep everything round. Then, I made another using roughly the same process. The plates dried and were bisque-fired without cracking or warping.
Glazing 12-inch plates also presents some challenges, when the largest bucket of glaze I have has a 10 inch opening. I’ll spare you more details, but I was able to get the plates mostly covered in glaze. With much fiddling, I removed glaze where it was not wanted (i.e. bottom of foot ring) and added where it was missing. Next time I’ll do things differently. (Is that memoir title taken?) After a 8-plus hour, 2200-degree (F) firing yesterday, this morning I awoke to a kiln just cool enough to open.
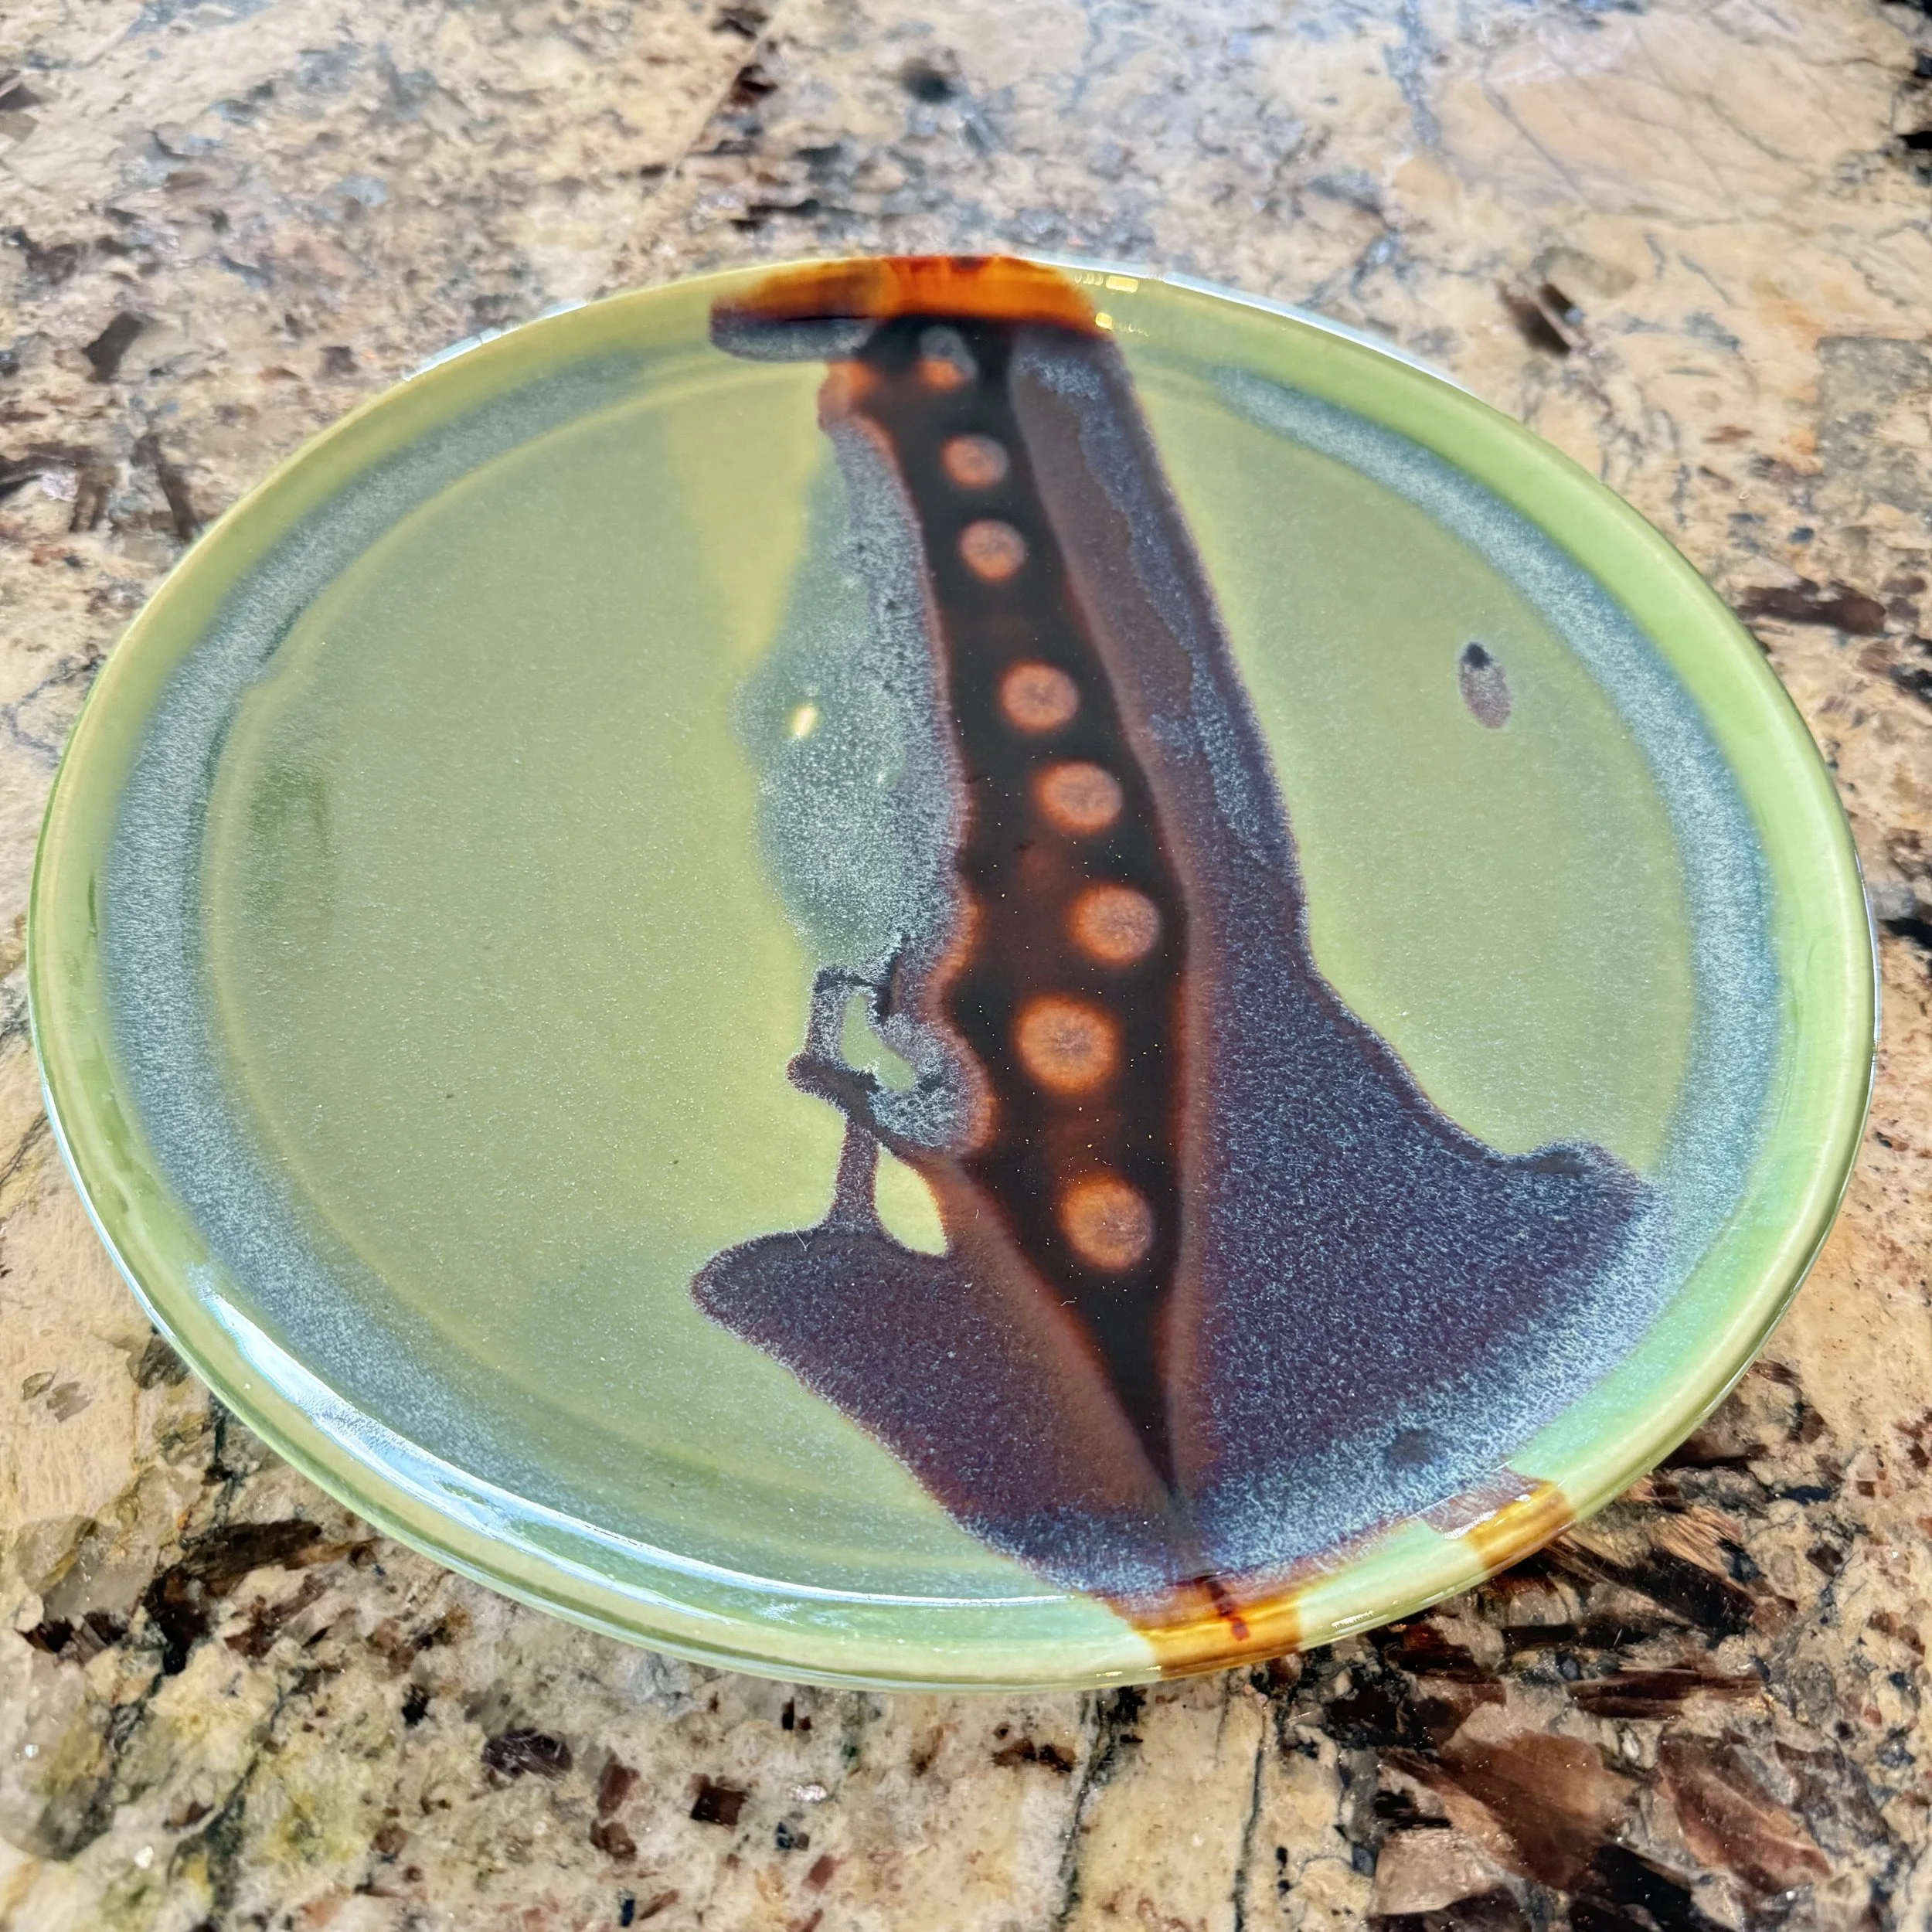
I do love the colors of this glaze combination. The Spearmint turns a beautiful variegated blue-violet where it is thick and where it overlaps the Tenmoku Gold. The Tenmoku Gold lightens from brown to amber at the edges of the interface with the Spearmint. Unfortunately, the glaze crawled (I think) and left some small bare patches. Also, the underside of the plate ran onto the shelf. Happily not so much that the plate stuck, but enough that I have some sanding to do both on the plate and the shelf.
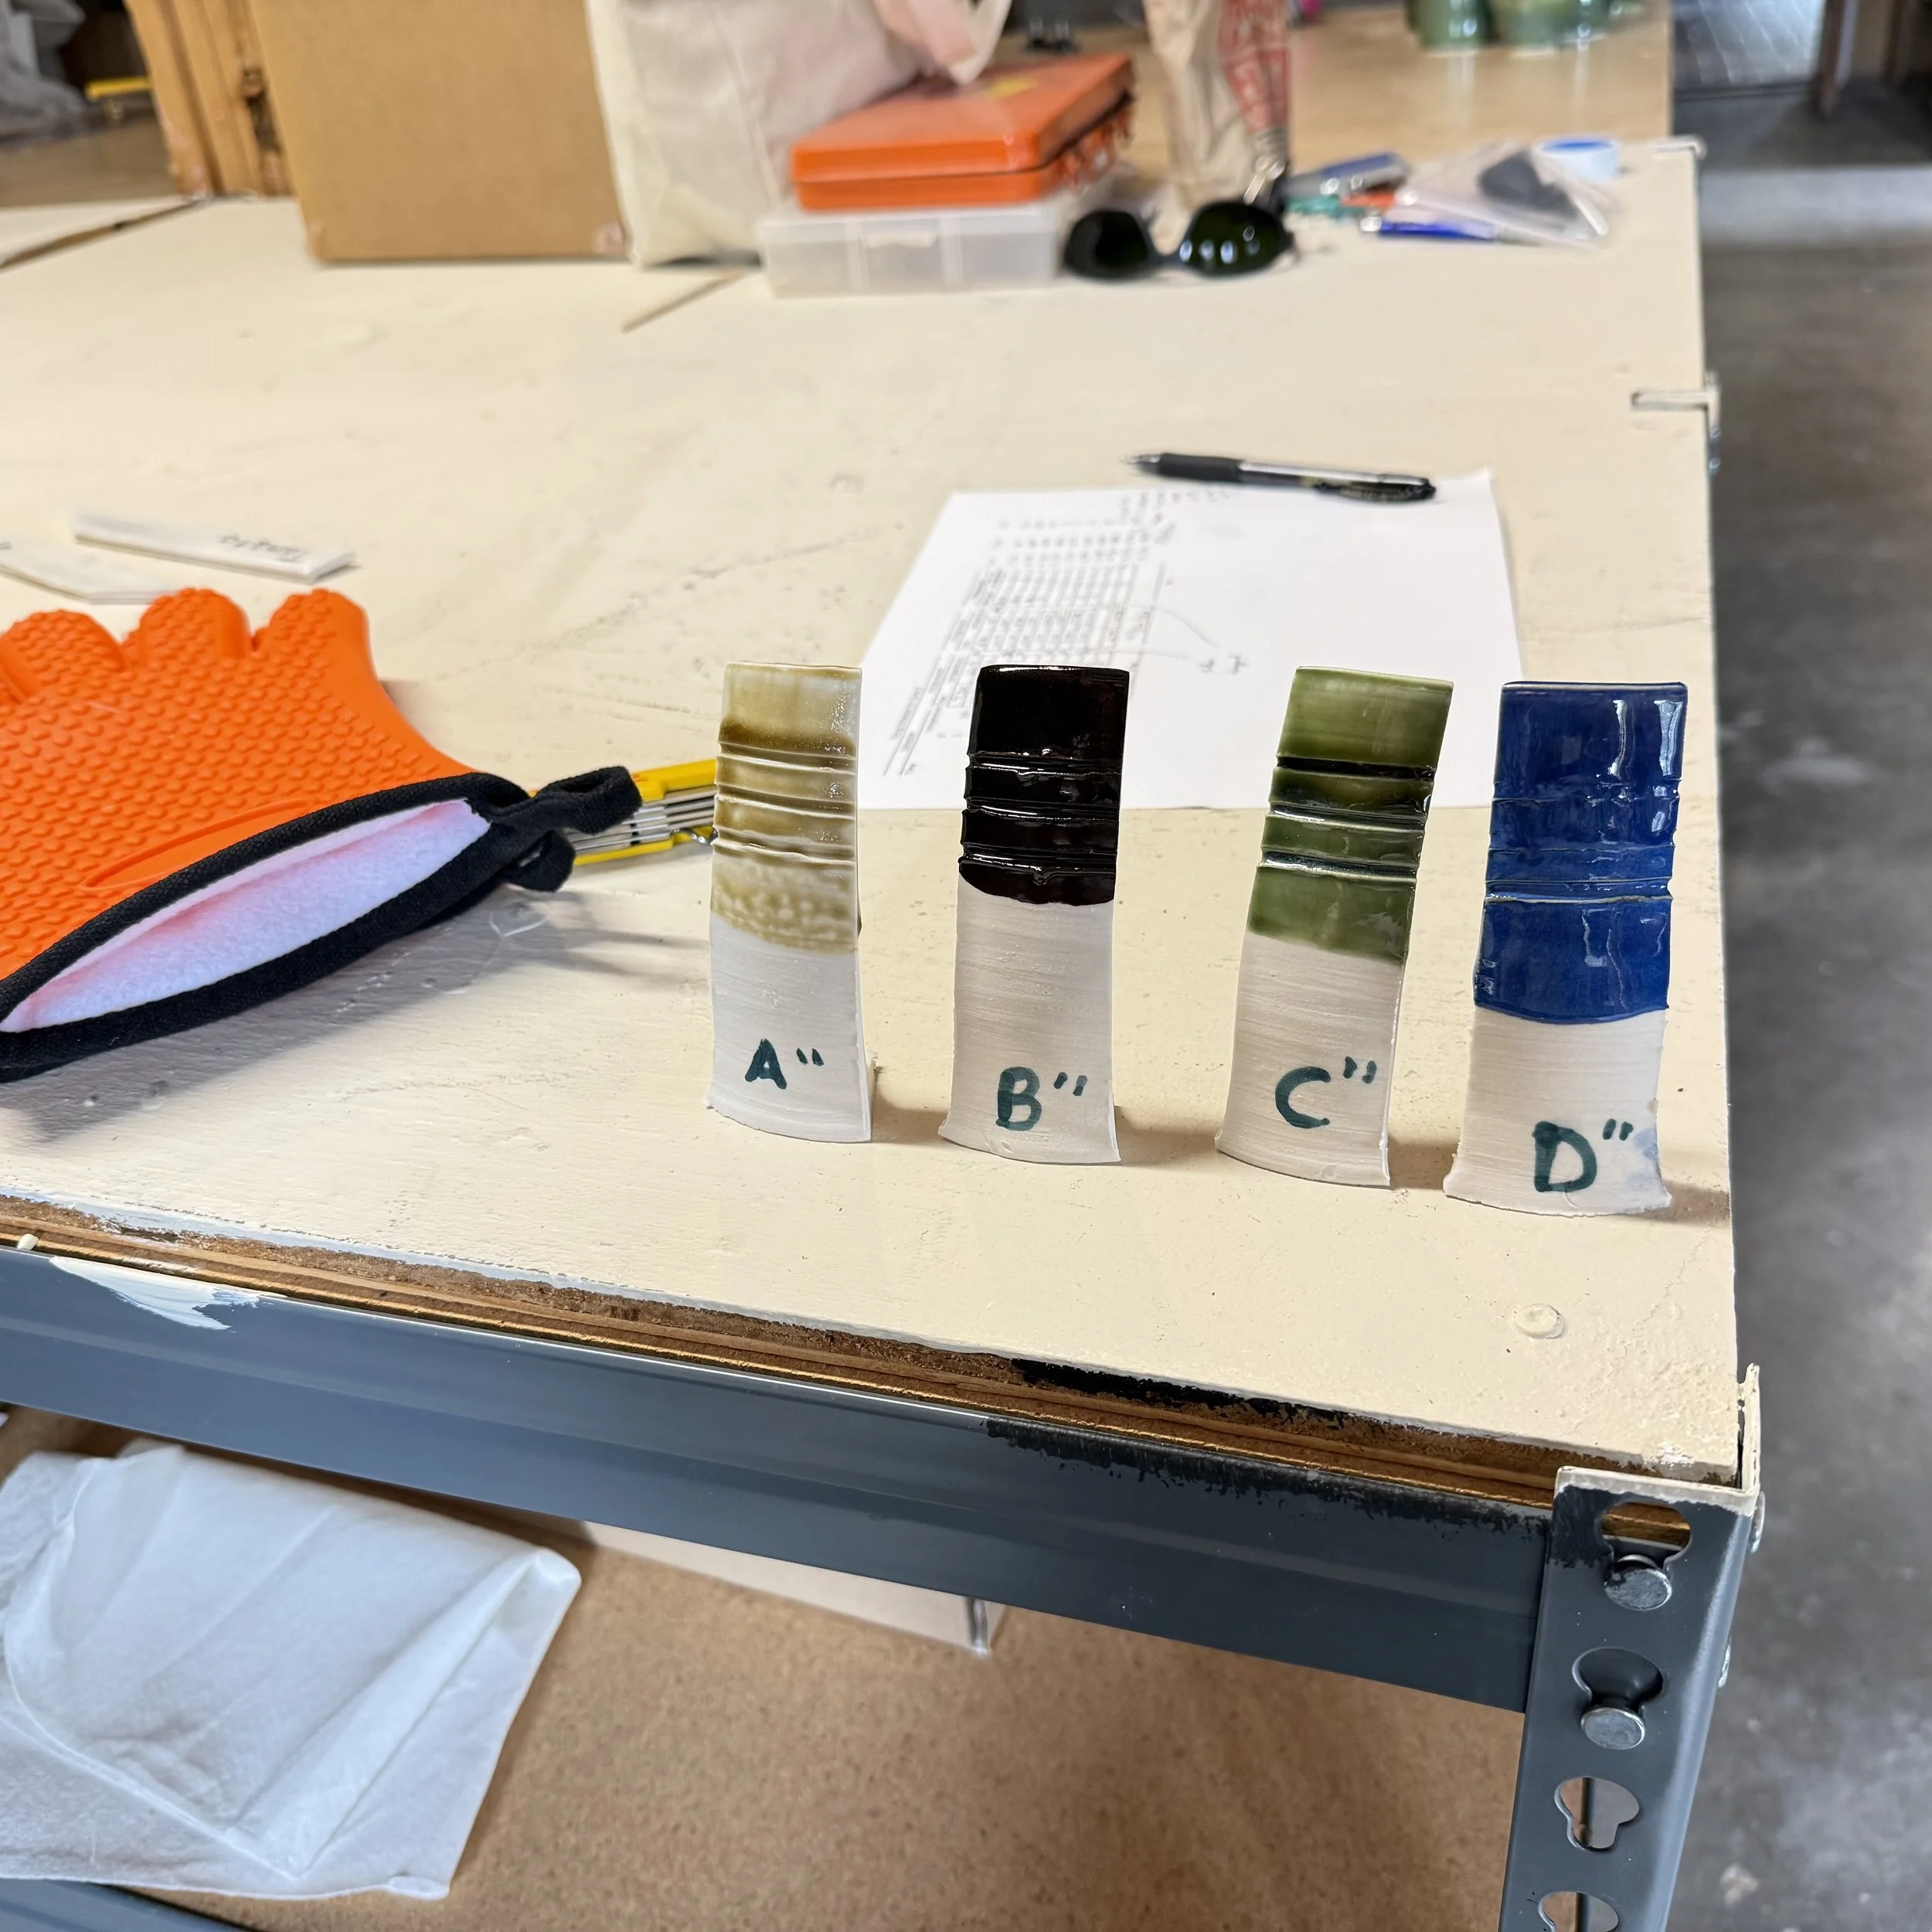
Some test tiles for a new glaze were also in this firing. I was hoping this “Gold Fake Ash” (by itself on Sample A and combined with other glazes in samples B through D) would be yellower. This one that I might call “dirty dish water” is not going into rotation. Win some, lose some.
Thanks for reading.
-Kelly